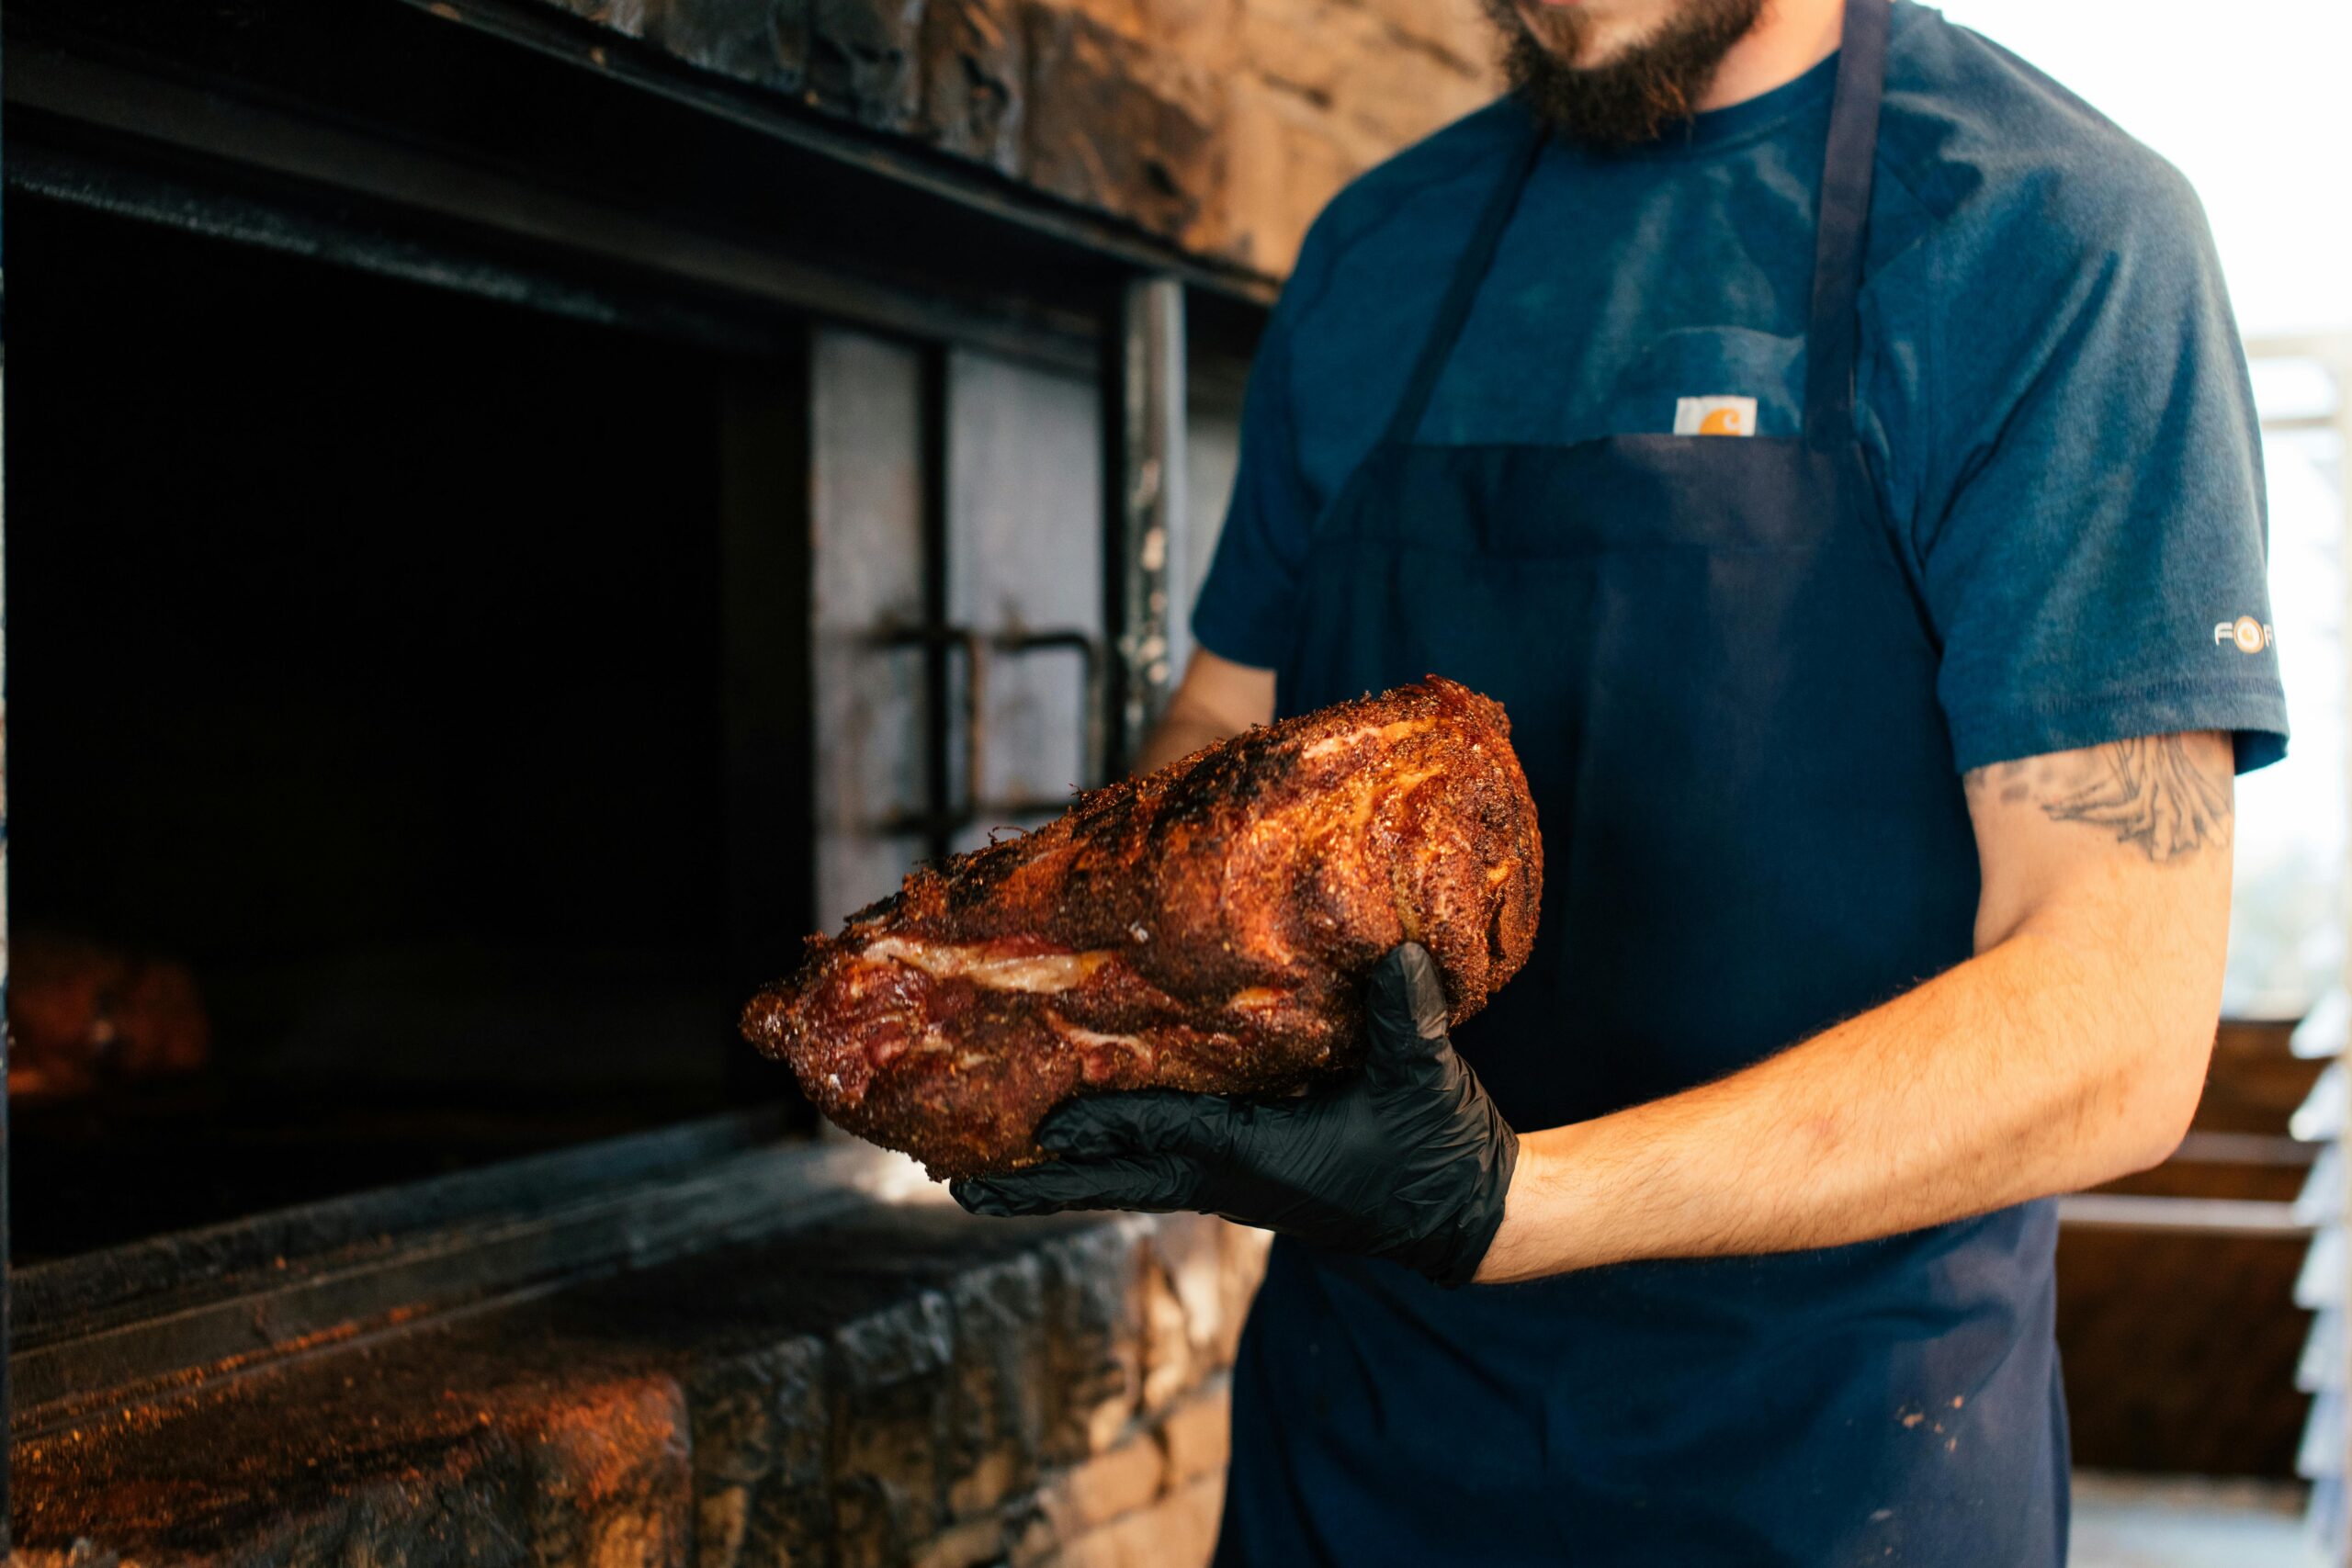
Long-duration roasting transforms ordinary ingredients into culinary masterpieces, but only when you master flame control and fire management techniques that professionals rely on daily.
🔥 The Foundation of Fire Management for Extended Roasting Sessions
Understanding fire behavior is the cornerstone of successful long-duration roasting. Whether you’re preparing a traditional pit-roasted pig, slow-roasting brisket, or crafting authentic barbecue, the difference between mediocrity and excellence lies in how you manage your heat source over extended periods.
Fire management isn’t about setting a temperature and walking away. It’s a dynamic process that requires attention, adjustment, and understanding of how different fuels, airflow patterns, and equipment configurations interact throughout multi-hour cooking sessions. The goal is maintaining consistent temperature zones while avoiding the common pitfalls that plague inexperienced roasters: temperature spikes, dead zones, and premature fuel exhaustion.
Professional pitmasters spend years developing an intuitive relationship with fire. They understand that wood density, moisture content, ambient weather conditions, and even the phase of your cooking process all demand different approaches to flame management. This knowledge separates backyard enthusiasts from competition-level barbecue artists.
Selecting the Right Fuel for Marathon Cooking Sessions
Your fuel choice fundamentally determines your success in long-duration roasting. Each option presents distinct advantages and challenges that directly impact temperature stability, flavor development, and your workload throughout the cook.
Hardwood Logs: The Traditional Choice
Hardwoods like oak, hickory, and maple provide exceptional heat output and extended burn times essential for lengthy roasting sessions. These woods burn slowly and steadily, producing consistent temperatures for 6-12 hour cooks when properly managed. Oak delivers neutral heat perfect for allowing meat flavors to shine, while hickory and mesquite contribute distinctive smoke profiles that define regional barbecue styles.
The key to success with hardwood logs is seasoning. Wood with 15-20% moisture content ignites reliably and burns cleanly without excessive creosote production. Green or wet wood creates temperature fluctuations, excessive smoke, and bitter flavors that ruin hours of careful preparation.
Lump Charcoal: Consistency and Control
High-quality lump charcoal offers temperature stability without the constant attention hardwood demands. It ignites quickly, burns cleaner than briquettes, and maintains steady heat for 4-6 hours depending on your setup and airflow management. Lump charcoal is ideal for kamado-style cookers and situations where you need predictable performance.
The drawback is limited smoke flavor compared to wood. Many experienced roasters address this by combining lump charcoal as their heat base with hardwood chunks added strategically for smoke generation. This hybrid approach delivers both temperature stability and flavor complexity.
Charcoal Briquettes: The Reliable Workhorse
Quality briquettes manufactured without chemical additives provide the most consistent burn characteristics available. They’re engineered for uniform size and density, delivering predictable heat output over extended periods. Competition teams frequently choose briquettes because they eliminate variables, allowing focus on other aspects of the cook.
The snake or minion method works exceptionally well with briquettes for long burns. By arranging unlit briquettes in a pattern and igniting only one end, you create a slow-burning fuse that maintains stable temperatures for 12+ hours with minimal intervention.
Building and Structuring Your Fire for Extended Burns
How you initially structure your fire determines whether you’ll maintain consistent temperatures or constantly fight fluctuations. Professional techniques focus on creating sustainable burn patterns that require minimal adjustment once established.
The Minion Method: Set It and Forget It
Developed by competition barbecue legend Jim Minion, this technique involves filling your firebox with unlit charcoal, then placing a small amount of lit coals on top. The fire gradually ignites the unlit fuel in a controlled progression, maintaining stable temperatures for 8-12 hours without adding fuel.
This method excels in vertical smokers and drum-style cookers. The key is using enough unlit fuel to last your entire cook while positioning lit coals to ensure steady ignition without runaway temperatures. Approximately 15-20 lit briquettes will typically ignite a full load of unlit fuel at the proper rate for low-and-slow roasting.
The Snake Method: Precision Temperature Control
The snake method arranges briquettes in a C-shape or circle around the perimeter of your firebox, typically two briquettes wide and two high. Light one end, and the fire slowly burns around the circle like a fuse, providing 10-15 hours of consistent heat for large kettle grills and similar equipment.
This configuration allows remarkable temperature precision. By adjusting the briquette arrangement—making the snake tighter or looser, adding a third layer in sections, or incorporating wood chunks at strategic intervals—you can program temperature variations throughout your cook without opening the lid.
The Two-Zone Fire: Versatility for Different Cuts
Two-zone setups position your fire entirely on one side of your cooking chamber, creating a hot direct-heat zone and a cooler indirect zone. This configuration provides flexibility during long cooks, allowing you to sear, crisp skin, or intensify char while maintaining your main roast in the indirect zone.
For extended sessions, build your direct zone using the minion method, creating a concentrated fuel bed that burns progressively while the indirect zone maintains steady roasting temperatures. This approach works brilliantly for mixed loads—perhaps a brisket requiring 12 hours alongside vegetables or smaller cuts needing different treatment.
Mastering Airflow: The Hidden Variable in Fire Management
Temperature control ultimately comes down to oxygen management. Every adjustment to intake and exhaust vents directly influences your fire’s intensity, making airflow mastery non-negotiable for long-duration success.
Understanding the Oxygen-Temperature Relationship
Fire requires three elements: fuel, heat, and oxygen. During long roasts, you’ve loaded sufficient fuel and established initial heat. Oxygen becomes your primary control variable. More airflow feeds your fire, increasing temperatures. Restricted airflow starves combustion, lowering temperatures.
The relationship isn’t linear, however. Small vent adjustments create disproportionate temperature changes, especially in well-insulated cookers. Making tiny incremental changes—quarter-turn adjustments at most—prevents the temperature swings that plague impatient roasters.
The Bottom Vent: Your Primary Temperature Control
The intake vent at your firebox base regulates oxygen supply to your coals. This is your primary temperature adjustment tool. During the initial fire establishment, open this vent fully to bring your cooker to temperature quickly. Once stabilized near your target, begin closing incrementally until you achieve steady-state operation.
Most long-duration roasts at 225-250°F operate with the bottom vent approximately 25-40% open, though this varies significantly based on cooker design, weather conditions, and fuel type. Learn your specific equipment’s behavior through practice cooks with a reliable thermometer.
The Top Vent: Managing Exhaust and Draft
Your exhaust vent should typically remain 75-100% open during low-and-slow cooking. It creates draft that pulls air through your firebox while venting combustion byproducts and excess smoke. Closing this vent restricts draft, potentially creating stale smoke that deposits bitter flavors.
Use top vent adjustments primarily for fine-tuning after establishing baseline temperatures with your intake vent. If temperatures run slightly high despite minimal intake vent opening, partially closing the exhaust can provide the last few degrees of control needed.
🌡️ Temperature Monitoring and Adjustment Protocols
Consistent monitoring separates successful long-duration roasts from disappointing failures. Professional-level results require understanding not just current temperatures but trends and patterns throughout your cook.
Strategic Thermometer Placement
Built-in lid thermometers typically read 25-50°F higher than actual cooking temperatures due to their position. Invest in reliable probe thermometers positioned at grate level where your food actually cooks. Place the probe tip adjacent to but not touching your roast, in the center of your cooking zone.
For ultimate precision, use multiple probes to map temperature variations across your cooking surface. Most cookers have hot spots and cool zones. Knowing these patterns allows you to position different items strategically or rotate food during extended cooks for even results.
Reading Temperature Trends vs. Numbers
Don’t obsess over hitting exactly 225°F constantly. Temperature variations of ±15-20°F throughout a long cook won’t significantly impact results. What matters is stability—avoiding wild swings that alternate between stalling and overcooking.
Watch temperature trends rather than individual readings. Is your temperature climbing gradually? Reduce airflow slightly. Slowly declining? Open vents incrementally. Steady with minor fluctuations? Leave it alone. Over-adjustment causes the dramatic swings you’re trying to avoid.
The Stall: Understanding and Managing the Plateau
During roasts of large cuts, temperatures often plateau for hours—the infamous stall. This occurs when evaporative cooling from moisture escaping the meat surface equals the heat being applied. Briskets commonly stall around 150-170°F for 2-4 hours.
Resist the temptation to increase fire temperature during the stall. This is a natural process. You can wait it out, wrap your meat in foil or butcher paper to reduce evaporation (the Texas crutch), or maintain your target cooking temperature and trust the process. The stall eventually breaks as surface moisture decreases.
Weather Challenges and Environmental Adaptations
Outdoor roasting means contending with environmental variables that impact fire management. Professional techniques account for these factors before they compromise your cook.
Cold Weather Compensations
Cold temperatures, wind, and precipitation all increase fuel consumption while making temperature stability more challenging. Your cooker radiates more heat in cold conditions, requiring higher fuel consumption to maintain target temperatures. Expect to use 25-40% more fuel during winter cooks.
Implement wind breaks around your cooker using sheets of plywood or purpose-built welding blankets. These reduce heat loss and fuel consumption dramatically. Insulated cookers like kamados perform significantly better in cold weather than thin-walled equipment, maintaining temperatures with less fuel and intervention.
Hot Weather and High-Temperature Challenges
Extreme heat creates opposite challenges. Your cooker reaches temperature quickly but may run hotter than desired even with vents barely open. High ambient temperatures reduce the temperature differential needed for your cooker to draft properly, sometimes making low-and-slow temperatures difficult to maintain.
Start with less lit fuel during hot weather—perhaps 8-10 lit briquettes instead of 15-20. Use the minimum fuel necessary, as you can always add more but can’t remove excess burning coals. Consider cooking during cooler morning or evening hours when possible.
Humidity and Precipitation Effects
High humidity affects both fuel burning characteristics and how your meat cooks. Moisture-laden air reduces evaporation rates from your meat, potentially reducing smoke ring formation but also minimizing excessive surface drying. Rain and snow obviously present challenges, requiring covered cooking areas or weather-resistant equipment.
Store fuel in dry locations always. Even a few hours of humidity exposure increases wood moisture content, affecting burn characteristics and temperature stability. Cover your fuel supply and select tomorrow’s wood today, allowing it to acclimate to ambient conditions before use.
Strategic Fuel Addition for Extended Sessions
Some roasts exceed even the longest single fuel load duration. Adding fuel without disrupting temperatures or contaminating meat with bitter smoke requires specific techniques.
Pre-Lighting Additional Fuel
Never add cold charcoal or raw wood directly to an established fire during cooking. Unlit fuel produces excessive white smoke while igniting, depositing acrid flavors on meat surfaces. Instead, pre-light additional fuel in a chimney starter or separate location until it’s fully engaged and producing minimal smoke.
Add pre-lit fuel quickly but carefully, minimizing lid-open time that releases accumulated heat. Position new coals adjacent to but not directly on top of your existing fire bed, allowing gradual integration without temperature spikes.
The Hot-Coal Transfer Method
For extremely long cooks exceeding 16-20 hours, some pitmasters maintain a separate fire source, transferring hot coals periodically rather than building massive initial fuel loads. This approach provides ultimate temperature control and works especially well with wood-burning offsets where you can transfer coals through the firebox without opening the cooking chamber.
This method demands attention but delivers unmatched control over smoke intensity and temperature adjustments throughout marathon sessions. It’s the technique of choice for whole-hog roasters and competition teams seeking perfection.
Advanced Techniques: Smoke Management for Extended Cooks
Smoke flavor development changes throughout long-duration roasts. Early hours provide maximum smoke absorption while meat surfaces remain moist and receptive. Understanding these phases allows you to manage smoke production strategically.
The Clean Smoke Principle
Quality smoke appears thin and blue-tinted, almost invisible. Thick white smoke indicates incomplete combustion, producing bitter creosote flavors. Your fire should burn cleanly throughout the cook, producing gentle smoke that enhances rather than overwhelms.
Clean smoke requires adequate oxygen, properly seasoned fuel, and established fire temperatures above 500°F in the firebox. If you’re producing heavy white smoke after the initial lighting phase, increase airflow and ensure your fuel is adequately dry.
Strategic Wood Chunk Placement
When combining charcoal with wood for smoke, position wood chunks strategically to provide consistent smoke throughout your cook. Burying chunks partially in your fuel bed creates gradual ignition, providing smoke over hours rather than intense bursts. This approach works beautifully with minion and snake methods.
Match wood intensity to cooking duration. Mild woods like apple, cherry, and maple suit 8-12 hour cooks without becoming overwhelming. Reserve intense woods like mesquite and hickory for shorter sessions or use them sparingly in blends for longer roasts.
Equipment Maintenance During Extended Burns
Long-duration roasting tests your equipment’s capabilities while creating maintenance demands that impact future performance. Professional-level results require attention to these often-overlooked factors.
Ash Management and Airflow Preservation
Accumulating ash restricts airflow to your fuel bed, gradually reducing your ability to maintain temperatures. Equipment with ash removal systems allows you to clear buildup without opening the cooking chamber. For cookers without this feature, factor ash accumulation into your fuel calculations and airflow adjustments.
Excessive ash buildup can smother your fire during the final hours of extended cooks. Start with a completely cleaned firebox, and if your cook exceeds 12 hours, consider equipment with ash management systems or plan for a controlled chamber opening at the halfway point to remove accumulation.
Gasket and Seal Inspection
Heat-damaged gaskets and degraded seals create air leaks that sabotage temperature control. Before long-duration cooks, inspect all door seals, lid gaskets, and potential leak points. The dollar-bill test—closing a bill in the seal and trying to pull it out—identifies leaks requiring attention.
Replace worn gaskets and seal minor gaps with high-temperature RTV silicone. Even small leaks introduce uncontrolled oxygen that feeds your fire unpredictably, making stable temperatures nearly impossible to maintain over extended periods.
🎯 Troubleshooting Common Long-Duration Roasting Challenges
Even experienced roasters encounter challenges during marathon cooking sessions. Recognizing problems early and implementing correct solutions separates salvageable situations from disappointing failures.
Temperature Runaway: When Heat Spirals Out of Control
If temperatures suddenly spike despite closed vents, you’re experiencing combustion runaway. This typically occurs when you’ve added too much lit fuel initially or made a large vent adjustment that over-oxygenated your fire bed.
Close all vents completely except for a tiny intake opening. The fire will consume available oxygen and temperatures will drop gradually. Be patient—panic adjustments worsen the situation. Once temperatures approach your target from above, reopen vents to your normal operating position and stabilize.
Dead Fire: When Flames Extinguish Prematurely
A completely extinguished fire mid-cook indicates you’ve either run out of fuel or suffocated combustion with excessive ash or closed vents. If you have remaining unlit fuel, the fire never propagated properly through your fuel bed—usually due to insufficient initial lighting or poor fuel arrangement.
Recovery requires opening the cooker, assessing remaining fuel, and potentially rebuilding your fire. This disrupts cooking and extends your timeline significantly. Prevention through proper initial setup and periodic temperature monitoring is far superior to attempting mid-cook recovery.
Temperature Creep: The Slow Climb
Gradually increasing temperatures despite stable vents suggest your fuel bed has consolidated and now burns more efficiently, or accumulating heat in your cooker’s thermal mass has reached saturation. Make small intake vent reductions—quarter-turn adjustments—and allow 15-20 minutes for stabilization before further changes.
If creep continues despite minimal vent openings, you likely built an oversized fire for your cook duration. Accept slightly elevated temperatures rather than risk extinguishing your fire with excessive vent restriction. The difference between 225°F and 250°F matters far less than maintaining stability.

Developing Your Fire Management Intuition
Technical knowledge provides foundation, but true mastery comes through experience and developing intuitive understanding of how your specific equipment behaves under various conditions. Each cooker has unique characteristics that only repetition reveals.
Maintain a cooking journal documenting fuel types and amounts, vent settings, weather conditions, and temperature patterns for each session. Over time, patterns emerge that inform your setup decisions and adjustment timing. What seems mysterious during early attempts becomes predictable with documented experience.
Practice cooks without food allow you to learn your equipment’s behavior without the pressure of potentially ruining expensive ingredients. Spend a Saturday managing temperature zones, practicing vent adjustments, and observing how changes affect performance. This investment pays dividends during actual cooking sessions where timing and results matter.
The path from adequate to exceptional long-duration roasting lies in fire management mastery. These proven strategies provide the framework, but your commitment to understanding your equipment, practicing techniques, and learning from each session determines your ultimate success. Perfect roasts aren’t accidents—they’re the predictable result of controlled fires managed by knowledgeable cooks who’ve invested time developing this essential skill set.