Insulated containers revolutionize how we enjoy meals away from home, transforming cold lunches into hot, satisfying experiences wherever life takes us. 🍲
In our fast-paced world, maintaining meal quality while on the move has become increasingly important. Whether you’re heading to work, embarking on outdoor adventures, or simply want to enjoy a home-cooked meal hours after preparation, insulated containers offer an ingenious solution that combines convenience with sustainability.
The concept of fireless cooking isn’t new, but modern insulated container technology has elevated this age-old technique to remarkable heights. These innovative vessels don’t just keep food warm—they can actually continue the cooking process, tenderizing ingredients and melding flavors without requiring any additional heat source.
Understanding the Science Behind Insulated Container Cooking 🔬
The magic of insulated containers lies in their sophisticated thermal retention capabilities. These containers utilize vacuum insulation technology, creating a near-perfect barrier between the interior contents and external environment. This vacuum layer prevents heat transfer through conduction and convection, while reflective inner surfaces minimize radiative heat loss.
When food is placed in a properly preheated insulated container, it can maintain temperatures above 140°F (60°C) for four to six hours, and remain pleasantly warm for up to eight hours. This temperature range is not only ideal for food safety but also perfect for continued cooking of certain ingredients.
The thermal mass of your food also plays a crucial role. Liquids and semi-liquid dishes like soups, stews, and curries retain heat more effectively than dry foods. The greater volume you’re working with, the longer the heat retention, making insulated containers particularly effective for substantial portions.
Selecting the Right Insulated Container for Your Needs
Not all insulated containers are created equal, and choosing the right one can dramatically impact your fireless cooking success. The market offers various options, each with distinct advantages depending on your specific requirements.
Capacity Considerations
Container sizes typically range from 12 ounces to 40 ounces or more. Individual lunch portions work well in 16-24 ounce containers, while family-sized options or those intended for sharing benefit from larger capacities. Remember that fuller containers maintain temperature better than partially filled ones.
Material Quality Matters
Premium stainless steel construction offers superior durability and heat retention compared to plastic alternatives. Look for food-grade 18/8 stainless steel, which resists corrosion and doesn’t impart flavors to your food. Double-wall vacuum insulation should be standard in any container you consider for fireless cooking.
Lid Design and Seal Technology
The lid is arguably the most critical component for heat retention. Seek containers with wide-mouth openings for easy filling and cleaning, combined with leak-proof, airtight seals. Some advanced models feature dual-seal systems with both inner and outer gaskets for maximum thermal efficiency.
Mastering Fireless Cooking Techniques ♨️
Successfully implementing fireless cooking requires understanding both preparation techniques and which foods work best with this method. The process is straightforward but demands attention to detail for optimal results.
The Essential Preheating Process
Never skip preheating your insulated container—this step is absolutely critical. Fill your container with boiling water, secure the lid, and let it stand for at least 5-10 minutes. This brings the container’s internal temperature up, preventing your food from losing precious heat to cold walls when you add it.
For maximum effectiveness, preheat twice: once when you begin meal preparation, then empty and repeat just before adding your food. This double-preheat method can extend heat retention by an additional hour or more.
Temperature Optimization Strategies
Your food should be at boiling or near-boiling temperature when placed in the container. For safety and effectiveness, foods should register at least 180°F (82°C) at the time of transfer. Use a food thermometer to verify temperature rather than guessing.
Fill the container to maximum capacity whenever possible. Empty space allows heat to dissipate more quickly. If you’re packing a smaller portion, consider using a smaller container rather than leaving excess space in a large one.
Timing Your Meals Perfectly
Different foods require different holding times to achieve ideal results. Quick-cooking items like ramen noodles or pre-cooked proteins need only 30-60 minutes in a properly heated container. Tougher cuts of meat or dried legumes benefit from 3-4 hours of fireless cooking, becoming fork-tender without any additional energy input.
Foods That Excel in Insulated Container Cooking 🥘
Certain dishes are perfectly suited to fireless cooking, actually improving in flavor and texture during their time in an insulated container. Understanding which foods work best helps you plan meals that arrive at your destination in peak condition.
Soups and Stews
These are the undisputed champions of insulated container meals. Their high liquid content maintains temperature exceptionally well, while extended heat exposure allows flavors to develop complexity. Hearty vegetable soups, chicken noodle, beef stew, and chili all transport beautifully and may even taste better after several hours in your container.
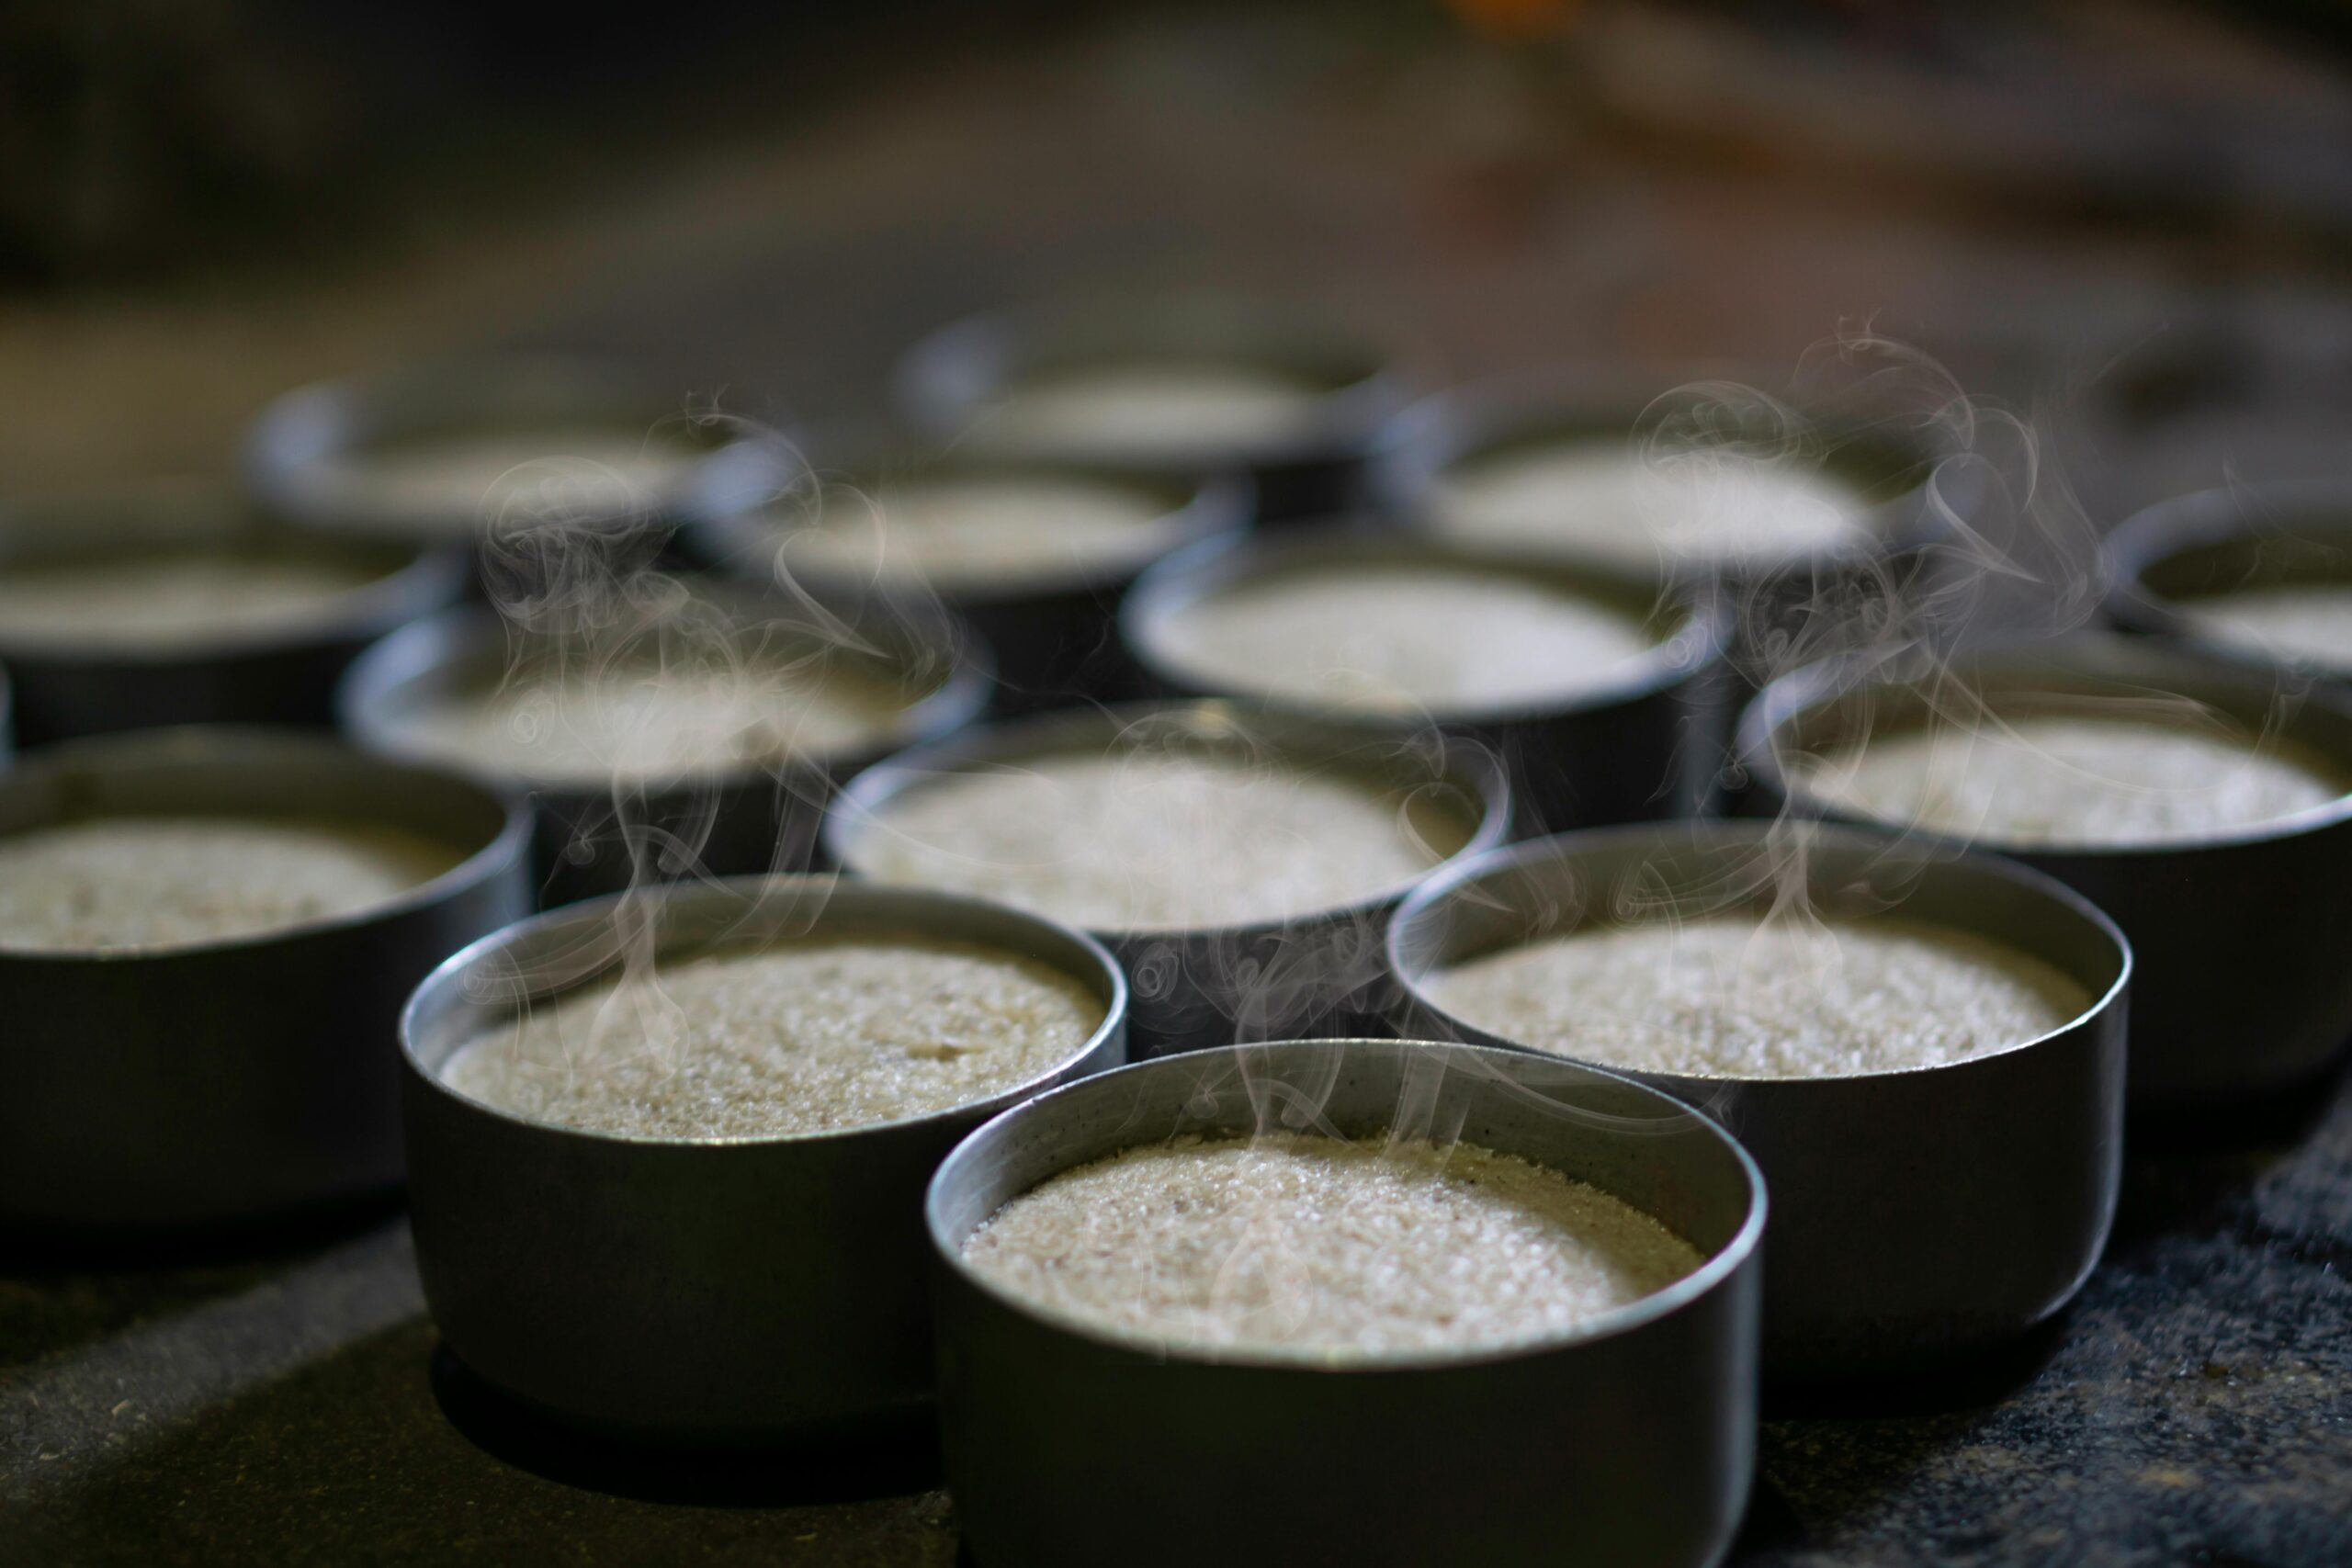
Grain-Based Dishes
Rice, quinoa, oatmeal, and other grains continue absorbing liquid and softening in an insulated environment. Add boiling water or broth to raw or partially cooked grains in your preheated container, and they’ll be perfectly tender by mealtime. Steel-cut oats prepared this way become creamy without the need for stovetop stirring.
Pasta Preparations
Al dente pasta placed in a hot container with sauce will reach ideal tenderness after 1-2 hours. This method works particularly well with heartier pasta shapes like penne, rigatoni, or rotini. Delicate varieties like angel hair may become too soft, so choose your pasta shape accordingly.
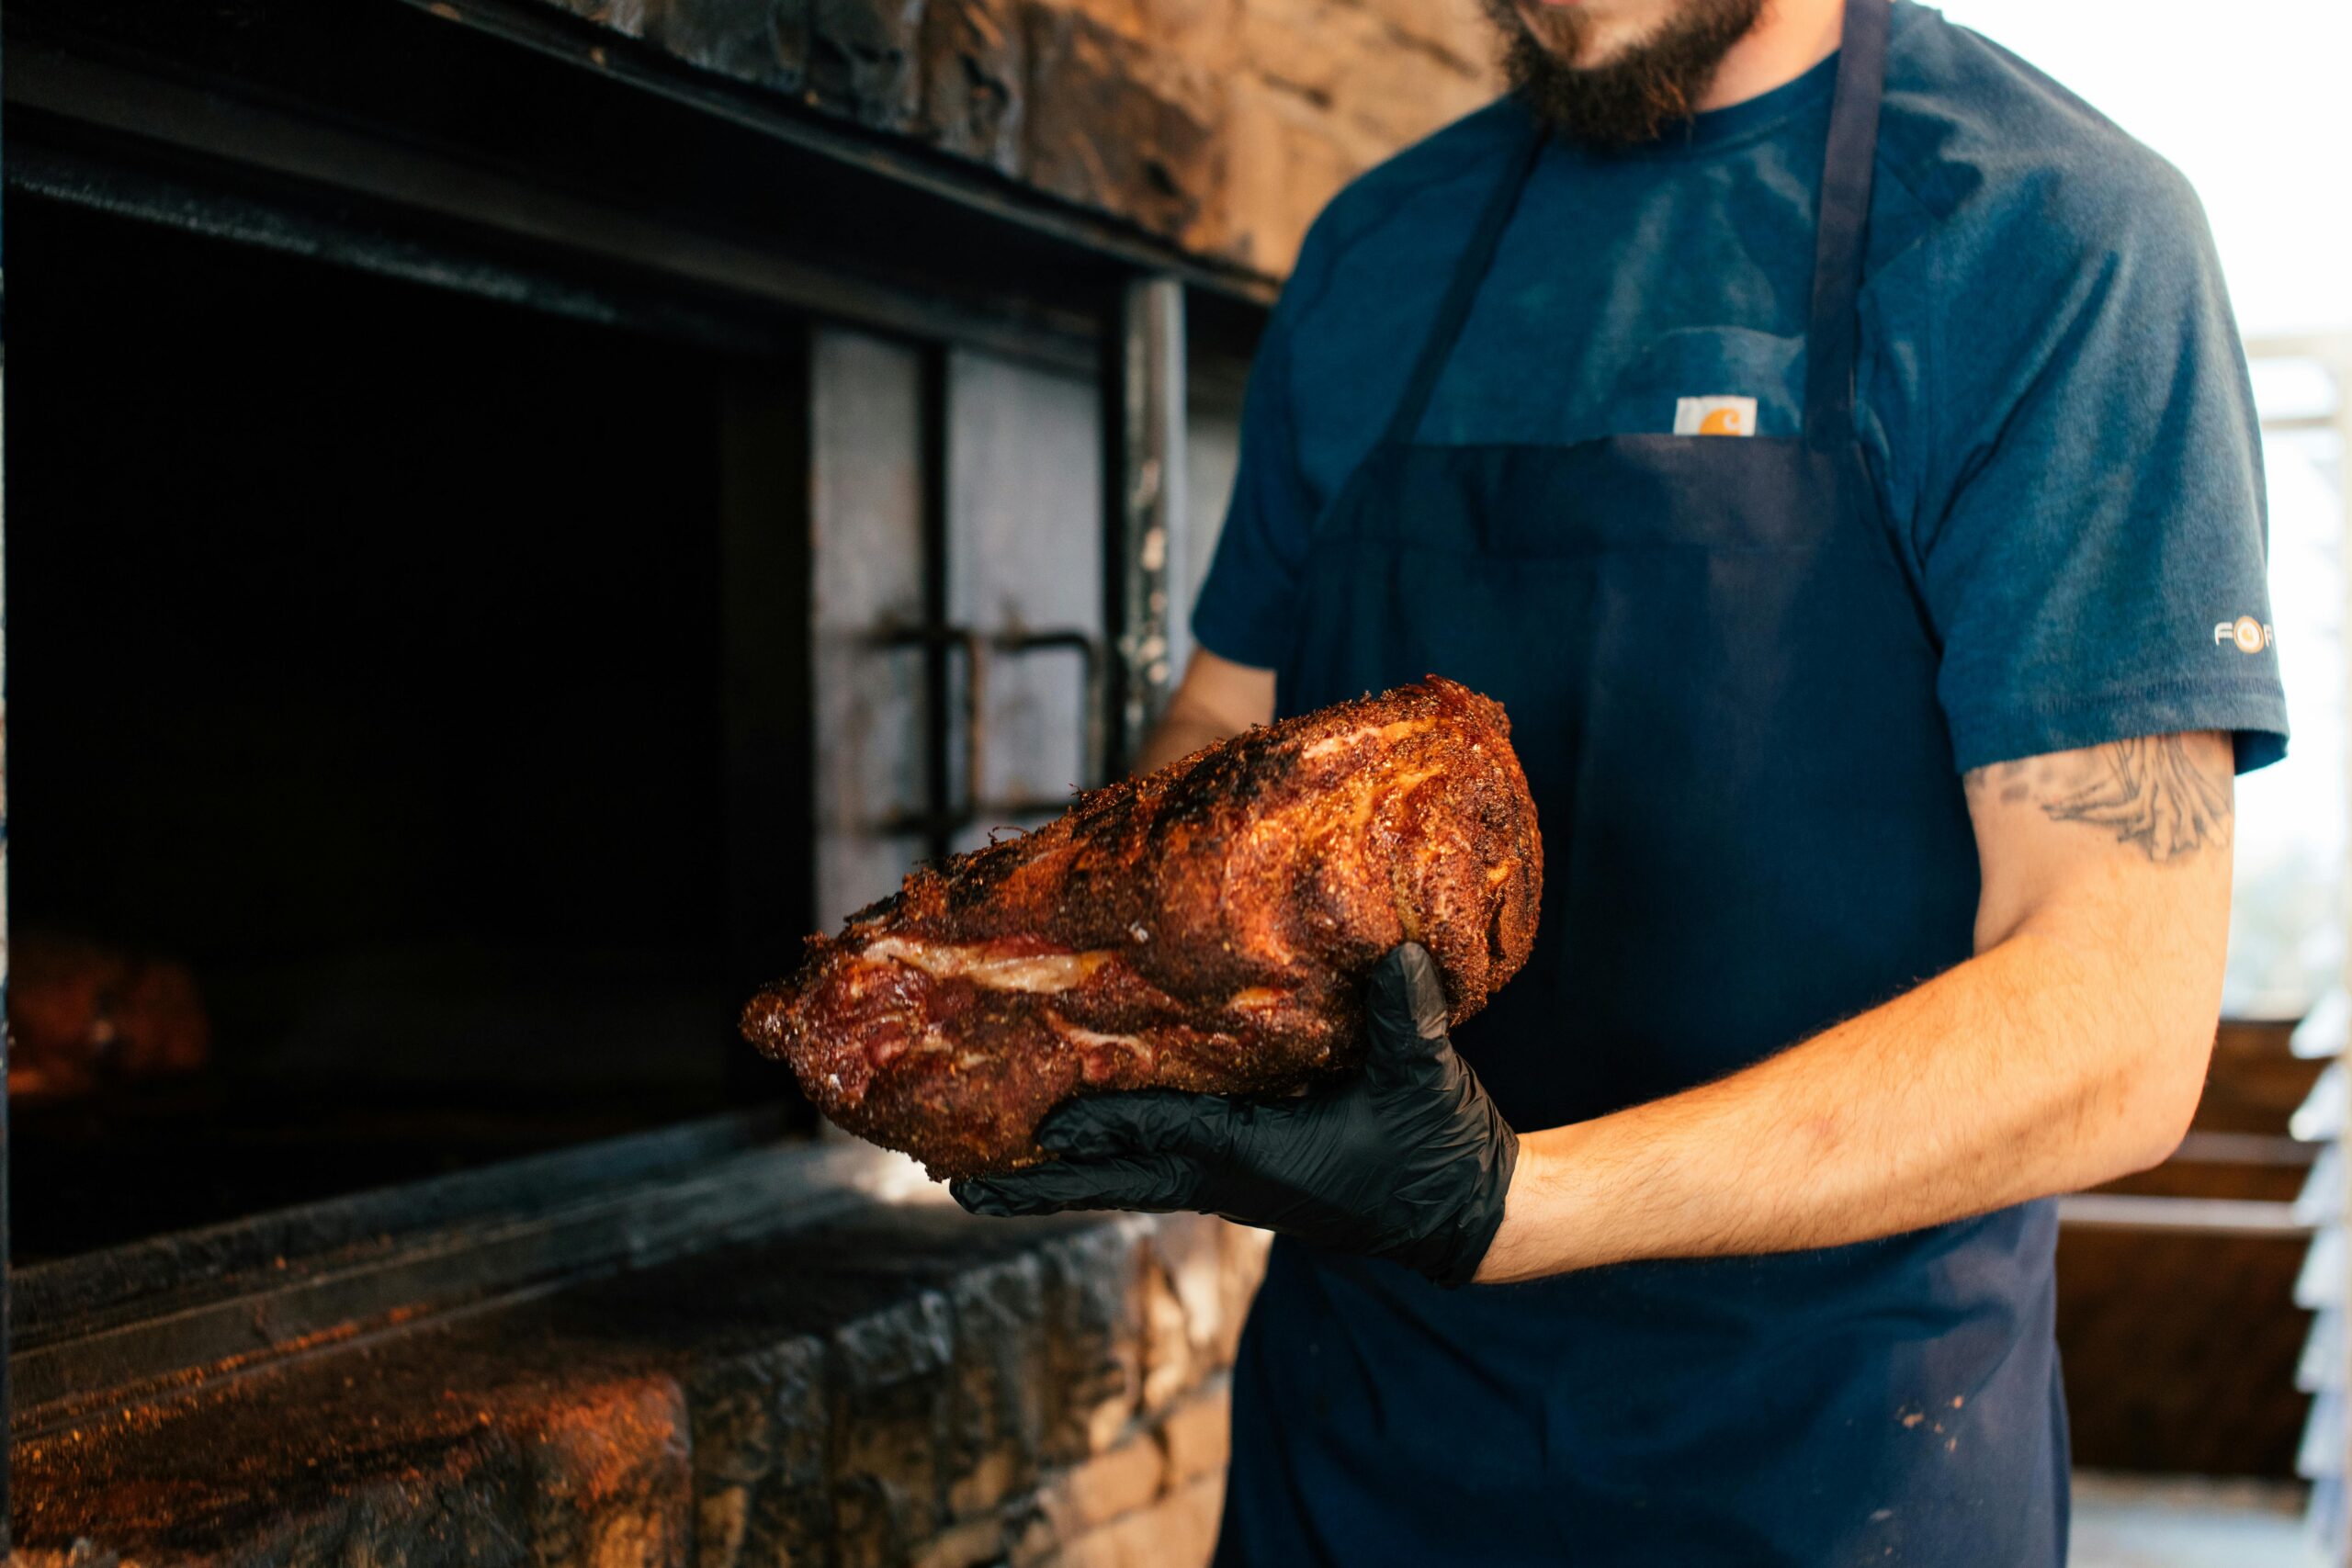
Protein-Rich Options
Pre-seared meats continue cooking gently in insulated containers, becoming increasingly tender. Braised chicken thighs, meatballs in sauce, pulled pork, and even firm fish varieties maintain excellent quality. Eggs cooked to just-set can be added to grain bowls or soups, finishing their cooking during transport.
Strategic Meal Planning for On-the-Go Success 📅
Maximizing your insulated container experience requires thoughtful planning beyond simply choosing the right foods. Consider these strategies to ensure consistently excellent results.
Morning Preparation Routines
For lunch at work or school, begin your morning by preheating your container while you prepare other aspects of breakfast. Reheat leftovers to boiling, or quickly prepare fresh ingredients. The entire process typically takes 15-20 minutes, including preheating time.
Batch Cooking Advantages
Prepare large batches of insulated container-friendly foods during weekend meal prep sessions. Freeze in individual portions, then reheat to boiling before transferring to your container. This approach provides maximum convenience on busy mornings while ensuring variety throughout the week.
Layering Techniques
For mixed dishes, add ingredients in strategic order. Place items that benefit from extended heat exposure at the bottom, with more delicate components on top. For example, in a grain bowl, place raw vegetables at the bottom with hot broth, cooked protein in the middle, and fresh herbs or cheese on top.
Safety Considerations and Food Handling Guidelines 🛡️
While insulated containers are remarkably safe when used correctly, following proper food safety protocols ensures your meals remain both delicious and hazard-free.
The Temperature Danger Zone
Food safety experts identify 40°F to 140°F (4°C to 60°C) as the temperature danger zone where bacteria multiply rapidly. Properly preheated and filled insulated containers should maintain temperatures above this range for at least four hours, but it’s wise to consume meals within this timeframe.
Cleaning and Maintenance
Thorough cleaning after each use prevents bacterial growth and odor development. Hand-wash with hot, soapy water, paying special attention to lid gaskets and threads where food particles accumulate. Allow containers to dry completely with lids off before storing to prevent mildew.
Periodically deep-clean your containers with baking soda solution or white vinegar to remove stubborn odors and stains. Avoid chlorine bleach, which can damage stainless steel and gasket materials over time.
Advanced Techniques for Enthusiasts 🌟
Once you’ve mastered basic fireless cooking, these advanced techniques can expand your culinary repertoire and improve results even further.
The Haybox Method Adaptation
Traditional haybox cooking, which used hay or other insulating materials around a pot, can be replicated with modern materials. Wrap your insulated container in a towel or place it in an insulated bag for extended adventures, potentially doubling heat retention time for day-long excursions.
Pressure-Cooking Integration
Combine pressure cooking with insulated container storage for ultimate efficiency. Pressure-cook tough ingredients until just tender, then immediately transfer to your preheated container. The residual pressure and heat continue working, producing fall-apart tender results by mealtime.
Infusion and Marinating
Use extended heat exposure to infuse broths with herbs and spices or gently cook aromatics into oils. Add whole spices, herb bundles, or aromatics to hot liquids in your container, and they’ll release their essence over several hours, creating deeply flavored bases for soups and grain dishes.
Sustainability and Economic Benefits 💚
Beyond convenience, insulated container cooking offers significant environmental and financial advantages that make it an increasingly attractive option for conscientious consumers.
Energy Conservation
Fireless cooking dramatically reduces energy consumption compared to keeping food hot through conventional methods. Once you’ve brought ingredients to temperature, zero additional energy is required, unlike warming trays, slow cookers set to “keep warm,” or repeated microwave reheating.
Reducing Food Waste
The ability to transport home-cooked meals reliably reduces dependence on restaurant takeout and prevents the all-too-common scenario of packed lunches languishing uneaten because they’ve become unappetizingly cold. Better meal quality means less food discarded and more money saved.
Eliminating Single-Use Packaging
Each meal carried in a reusable insulated container represents one less disposable container, plastic utensil set, and paper napkin entering the waste stream. Over a year, a single person using an insulated container for daily lunches prevents hundreds of disposable items from landfills.
Troubleshooting Common Challenges 🔧
Even experienced insulated container users occasionally encounter issues. Understanding solutions to common problems ensures consistent success.
Food Not Staying Hot Enough
If meals are cooling too quickly, verify you’re preheating adequately and filling the container completely. Check gaskets for wear—damaged seals dramatically reduce thermal performance. Consider upgrading to a higher-quality container if yours consistently underperforms despite proper technique.
Overcooked or Mushy Results
When foods become too soft, reduce initial cooking time or use less liquid. Pasta, in particular, should be quite al dente before container storage. For vegetables, blanch briefly rather than cooking completely before adding to your container.
Flavor Development Issues
If dishes taste bland, remember that extended heat exposure can mute some flavors while intensifying others. Season more boldly than you would for immediate consumption, and add fresh herbs or citrus just before eating rather than during initial preparation.
Expanding Your Culinary Horizons with Global Inspirations 🌍
Cultures worldwide have developed ingenious techniques for portable hot meals, offering inspiration for your insulated container adventures.
Japanese thermal lunch jars (known as “bento jars”) have popularized the concept of compartmentalized hot meals, often featuring rice in one section and curry or stew in another. Korean stone pot dishes translate beautifully to insulated containers, with their emphasis on ingredients that improve with extended gentle heating.
Indian tiffin traditions demonstrate how layered meals can be transported successfully, while Scandinavian porridge preparations show the effectiveness of extended heat exposure on grain-based breakfasts. Drawing from these global traditions enriches your meal rotation while honoring time-tested wisdom.
Creating Your Personal Insulated Container Meal System
Developing a personalized approach to insulated container cooking transforms it from occasional experiment to reliable daily practice. Start by identifying your schedule’s natural rhythms and meal preferences, then build systems supporting consistent success.
Maintain a running list of proven recipes that work well with your specific container and timing needs. Note optimal preparation techniques, cooking times, and any adjustments needed for different seasons or scenarios. This personal knowledge base becomes increasingly valuable over time.
Invest in multiple containers if your lifestyle warrants it—one for work lunches, another for weekend adventures, perhaps a third for breakfast preparations. Having dedicated containers eliminates the morning scramble and ensures you’re always prepared.
The intersection of traditional fireless cooking wisdom and modern insulated container technology offers remarkable opportunities for anyone seeking convenient, sustainable, delicious meals away from home. By mastering these techniques, you gain the freedom to enjoy restaurant-quality hot meals virtually anywhere, while reducing environmental impact and expanding your culinary capabilities. Whether you’re packing lunch for tomorrow’s workday or preparing for a weekend hiking adventure, your insulated container becomes a reliable partner in maintaining meal quality and satisfaction wherever your journey leads. 🚀