Pit cooking transforms ordinary ingredients into extraordinary meals through a primal method that harnesses earth, fire, and time to create unparalleled depth of flavor.
🔥 The Ancient Foundation of Pit Cooking Excellence
Pit cooking represents one of humanity’s oldest culinary techniques, dating back thousands of years across virtually every continent. This method involves digging a hole in the ground, heating it with fire or hot stones, and using the retained heat to slowly cook food buried within. The technique has survived millennia not merely as tradition, but because it produces results that modern ovens struggle to replicate.
The magic of pit cooking lies in its ability to create an entirely enclosed cooking environment where heat, moisture, and smoke work together in perfect harmony. When you master pit depth specifically, you unlock the ability to control these three essential elements with precision. Root vegetables develop a caramelized exterior while maintaining creamy interiors, and meats become so tender they practically dissolve on the tongue.
Understanding pit depth isn’t simply about digging a hole of arbitrary size. It’s about calculating heat retention, airflow dynamics, moisture management, and cooking duration to achieve specific culinary outcomes. The depth of your pit directly influences cooking temperature, the intensity of smoky flavors, and the texture transformation of your ingredients.
📏 Calculating the Perfect Pit Depth for Your Ingredients
The ideal pit depth varies significantly depending on what you’re cooking, how much you’re preparing, and the results you want to achieve. Generally speaking, pit depths range from 18 inches for small batches of vegetables to 4 feet or more for large animal roasts requiring extended cooking times.
For root vegetables like potatoes, carrots, beets, and sweet potatoes, a pit depth of 18 to 24 inches typically provides optimal results. This depth allows sufficient insulation from ground temperature while maintaining enough heat concentration to cook vegetables through completely. The surrounding earth acts as a natural insulator, creating an oven-like environment that cooks vegetables evenly from all directions.
Meats require deeper consideration, quite literally. Smaller cuts like chicken, fish, or rabbit perform well in pits 24 to 30 inches deep. These depths provide enough heat retention for thorough cooking while preventing the intense heat that might char exterior surfaces before interiors reach safe temperatures. Medium-sized roasts, including pork shoulders, lamb legs, and small pigs, benefit from pit depths between 30 and 42 inches.
The Science Behind Depth and Temperature Control
Heat in a cooking pit behaves differently than in conventional ovens. In a pit, heat radiates from hot coals or stones, then gets trapped by layers of earth, creating a gradually declining temperature gradient. The deeper your pit, the more thermal mass surrounds your food, resulting in longer heat retention and more stable cooking temperatures.
A shallow pit loses heat quickly through the surface, requiring more fuel and closer monitoring. Conversely, an excessively deep pit may retain too much heat initially, potentially burning food surfaces, while also making it difficult to check cooking progress. The sweet spot balances adequate insulation with practical accessibility.
🌱 Root Vegetables: Achieving Caramelized Perfection Underground
Root vegetables undergo remarkable transformations in pit cooking environments. The combination of steady heat, trapped moisture, and mineral-rich earth contact creates flavors and textures impossible to achieve through other cooking methods. Starches convert to sugars more completely, natural moisture concentrates, and earthy undertones develop that complement the vegetables’ inherent sweetness.
When preparing root vegetables for pit cooking, size consistency matters tremendously. Cut vegetables to similar dimensions so they cook at the same rate. Whole small potatoes, carrot chunks about two inches thick, and beets halved or quartered work exceptionally well. Wrapping vegetables in leaves—banana, grape, cabbage, or even large lettuce leaves—protects them from direct ash contact while allowing steam to penetrate.
Layer your vegetables strategically within the pit. Denser vegetables like turnips and potatoes go closer to the heat source, while more delicate items like sweet potatoes position slightly higher. This arrangement ensures everything finishes simultaneously, with each vegetable achieving that perfect balance between creamy interior and slightly charred exterior.
Seasoning Strategies for Enhanced Earth-Cooked Flavor
Pit-cooked root vegetables benefit from bold seasoning applied before cooking. Unlike stovetop methods where you can adjust seasoning throughout, pit cooking is a set-it-and-forget-it process. Coat vegetables generously with salt, pepper, herbs, and fat before wrapping. The extended cooking time allows these flavors to penetrate deeply.
Consider creating herb bundles to nestle among your vegetables. Rosemary, thyme, sage, and bay leaves withstand long cooking times while imparting aromatic complexity. Garlic cloves scattered throughout soften into sweet, spreadable nuggets that complement the vegetables beautifully. A drizzle of olive oil or pat of butter on each vegetable creates richness that balances earthy flavors.
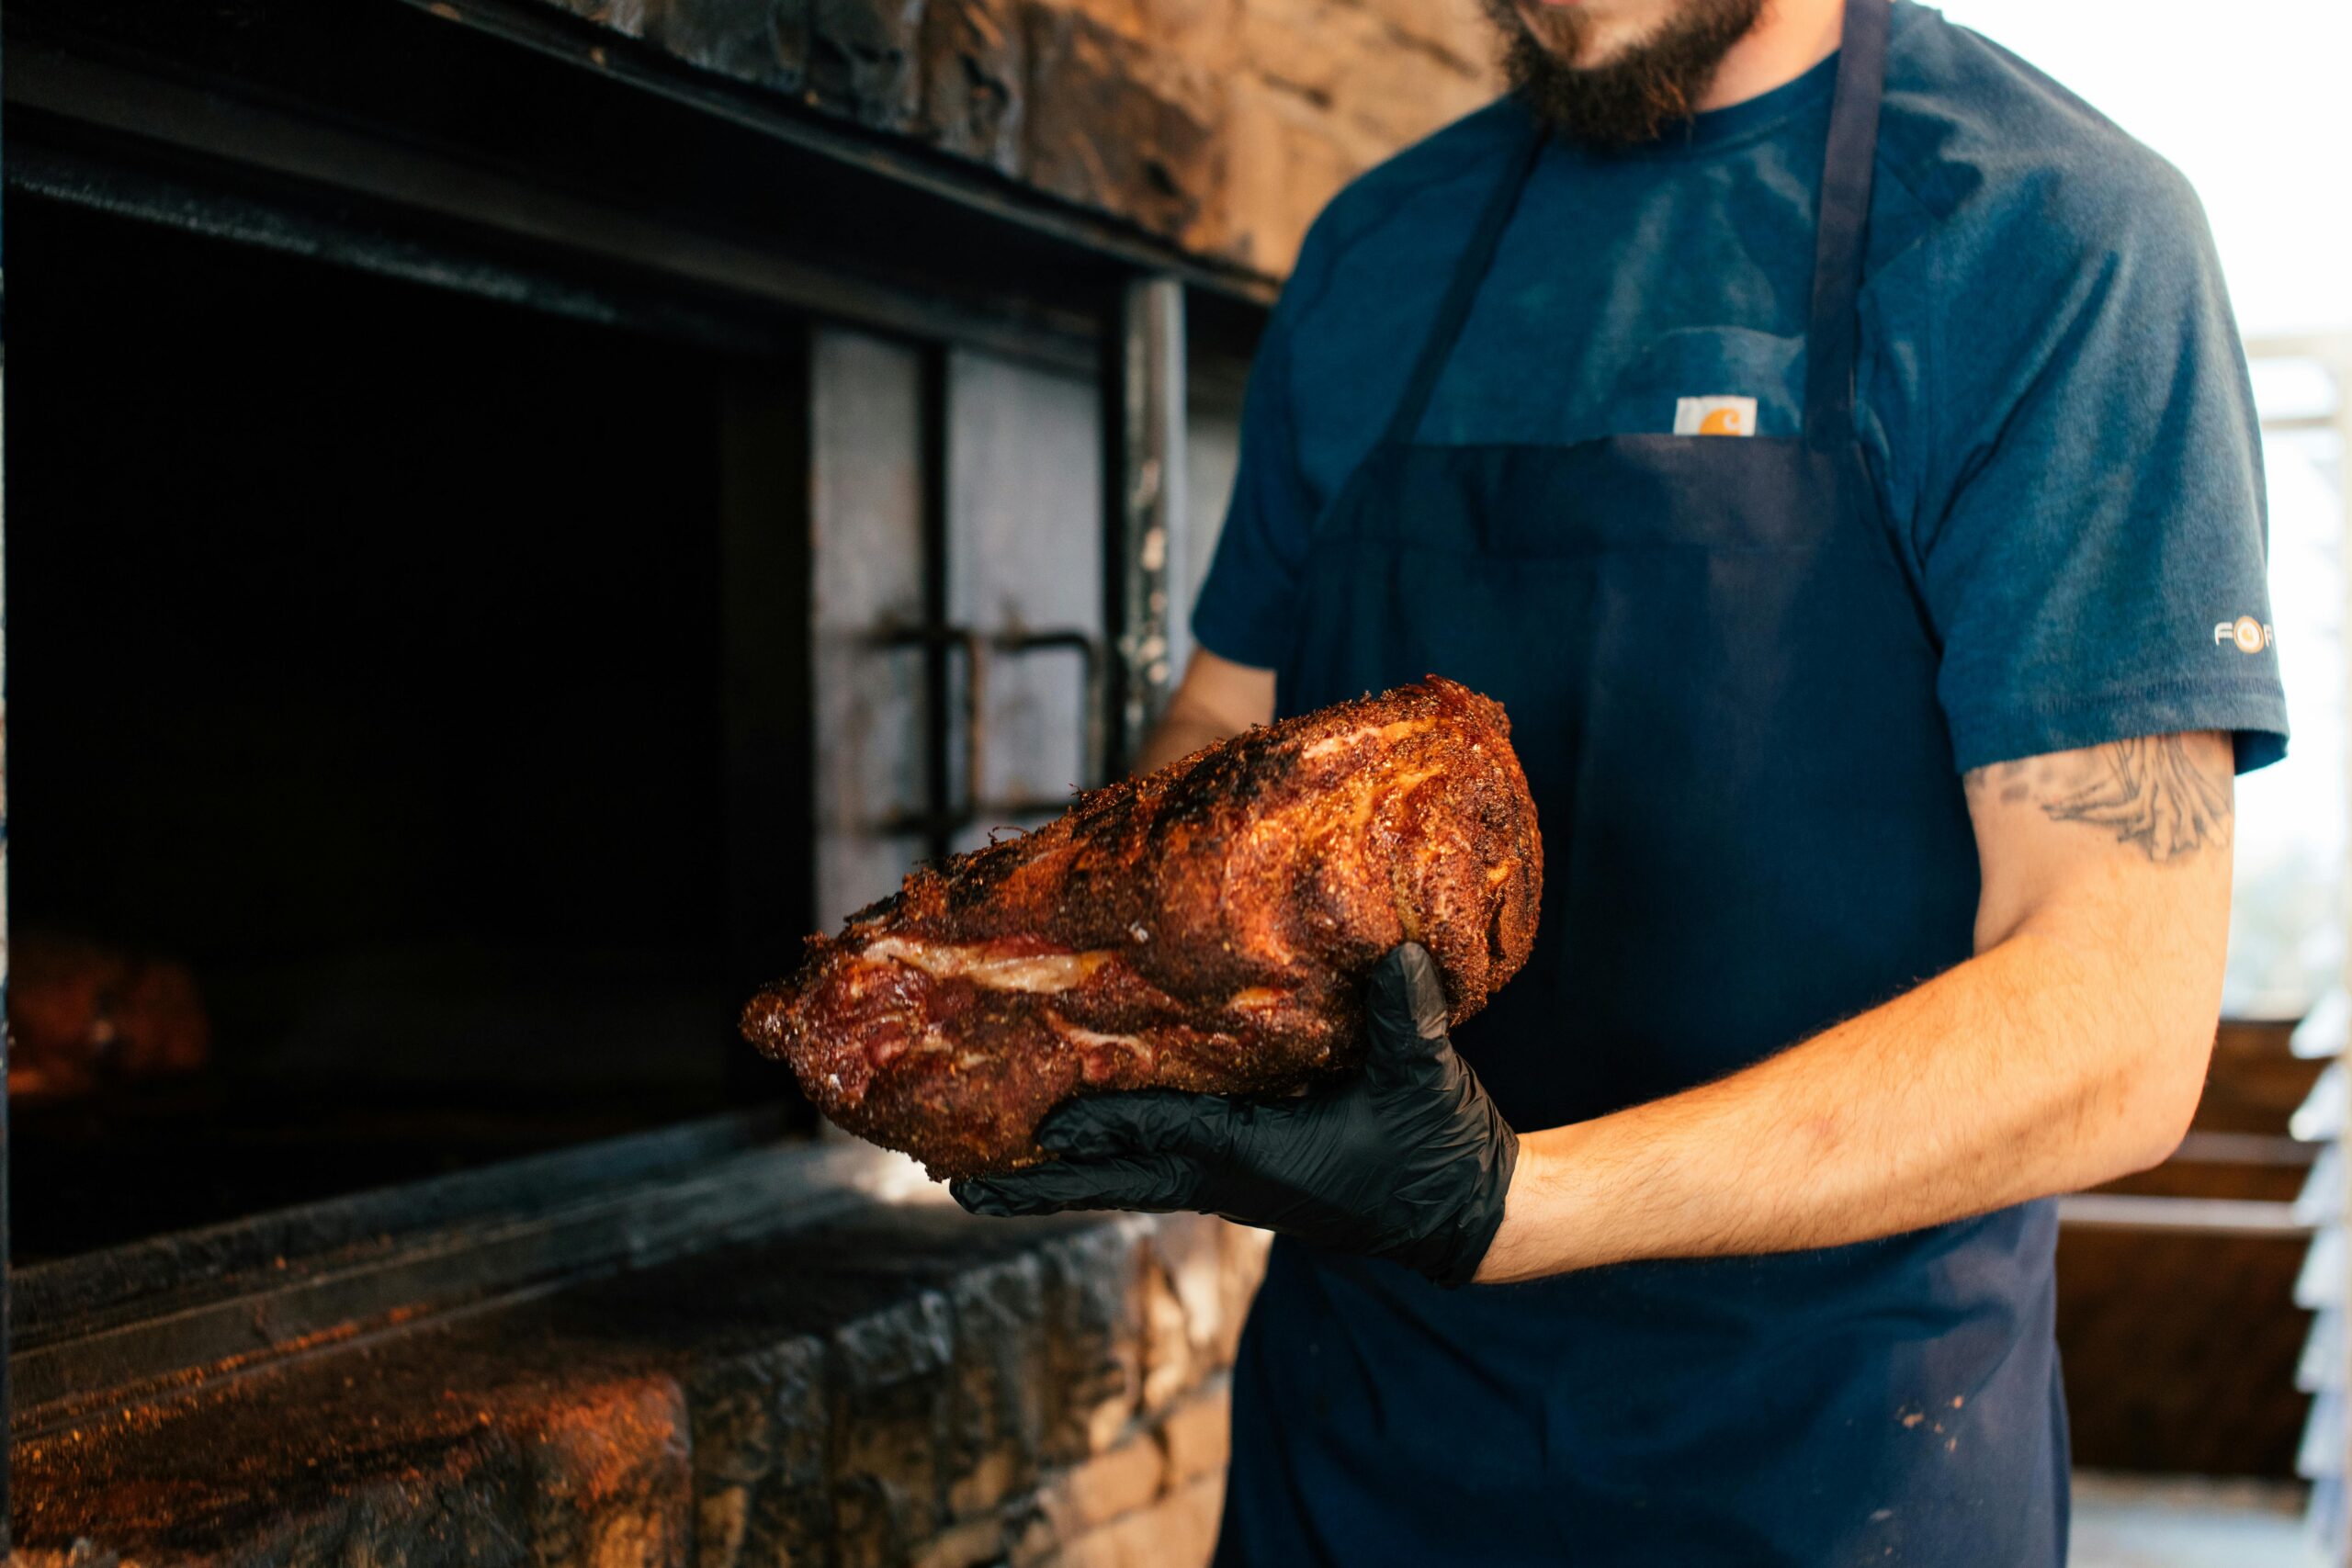
🥩 Meat Mastery: From Tough Cuts to Tender Treasures
Pit cooking excels at transforming tough, collagen-rich cuts into succulent masterpieces. The low, steady heat over extended periods breaks down connective tissues completely, rendering tough cuts fork-tender while preserving moisture that would evaporate in conventional cooking.
Pork shoulder, beef brisket, lamb shanks, and whole poultry all thrive in pit environments. The key lies in matching pit depth and coal arrangement to the specific cut. Larger, denser meats require deeper pits with substantial coal beds that maintain heat for 8 to 12 hours or longer. Smaller cuts cook successfully in shallower pits with less fuel over 4 to 6 hours.
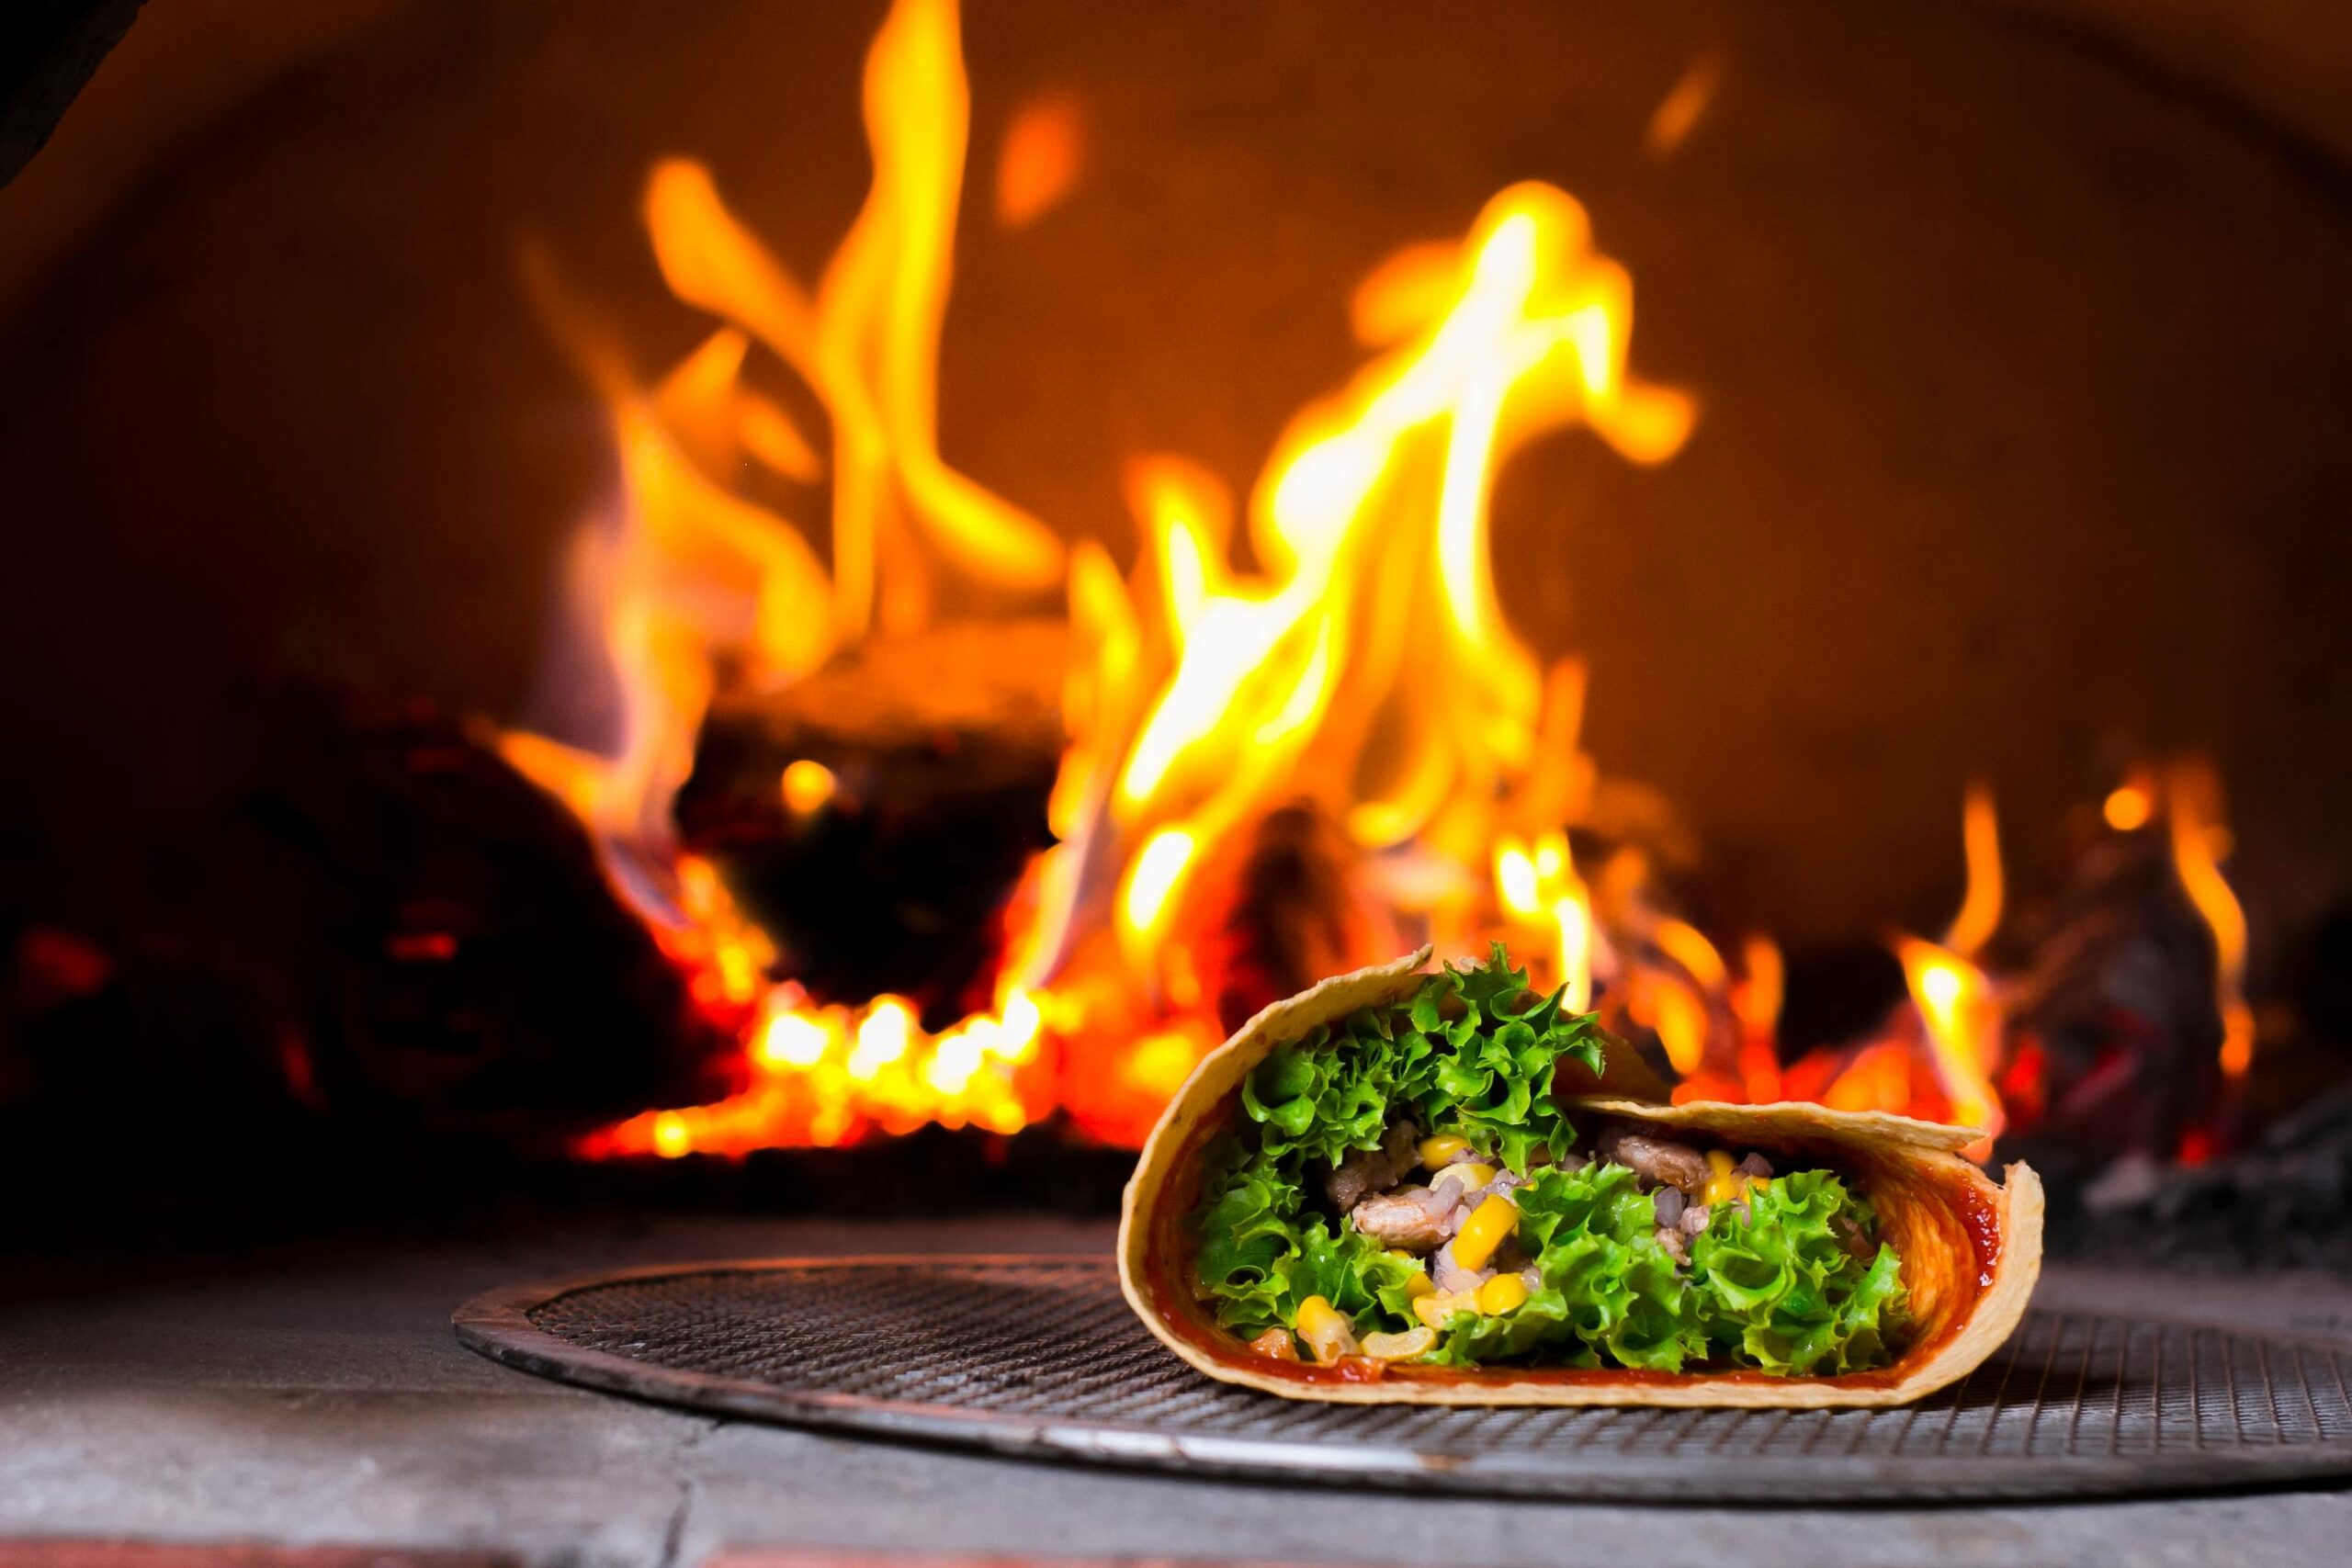
Wrapping meat properly protects it while allowing smoke and heat penetration. Traditional methods include wrapping in banana leaves, burlap soaked in water, or aluminum foil with ventilation holes. Each wrapping method affects final texture and flavor differently. Banana leaves impart subtle herbal notes, burlap creates rustic bark-like crusts, and foil produces cleaner flavors with maximum moisture retention.
Temperature Zones and Meat Placement Techniques
Creating temperature zones within your pit allows cooking multiple items simultaneously. The bottom of the pit, nearest the coals, reaches the highest temperatures. Position tougher cuts requiring aggressive collagen breakdown here. Middle zones offer moderate, consistent heat ideal for most roasts. Upper areas provide gentler heat suitable for delicate items like fish or poultry that might dry out under intense heat.
Monitor internal temperatures when possible by creating small access points for thermometer probes. Pork should reach 190-205°F for pulled preparations, beef brisket benefits from similar ranges, and poultry requires 165°F minimum for safety. These temperatures ensure not just safety but also optimal texture development.
⛏️ Constructing Your Pit: Technical Considerations for Success
Pit construction begins with site selection. Choose well-drained ground away from tree roots, utility lines, and structures. Clay-rich soils retain heat better than sandy compositions, though any soil works with proper technique. Mark your pit dimensions before digging—rectangular pits offer easier ingredient arrangement than circular ones, though circles distribute heat more evenly.
Dig with straight sides rather than sloped walls. Vertical walls maintain structural integrity better and maximize cooking volume relative to surface area. Remove rocks and debris that might crack under heat or contaminate food. Compact the bottom firmly to create a stable base for coal placement.
Line your pit with rocks if available, creating a heat-retaining thermal mass that moderates temperature fluctuations. Avoid river rocks or porous stones that might explode when heated. Dense, dry rocks work best. Alternatively, fire bricks create excellent pit linings for those planning repeated use of the same location.
Fuel Selection and Heat Management Fundamentals
Hardwoods like oak, hickory, maple, and fruit woods produce long-burning coals with excellent heat output and pleasant smoke flavors. Avoid softwoods like pine that burn quickly, produce excessive smoke, and impart resinous off-flavors. Seasoned wood with less than 20% moisture content burns cleaner and hotter than green wood.
Build your fire 2 to 3 hours before cooking begins, allowing time for flames to die down and coals to develop their characteristic white-ash coating. This indicates they’ve reached optimal cooking temperature without excessive flame that might char food surfaces. Spread coals evenly across the pit bottom, with slightly more concentration toward the center where heat loss through walls is minimal.
🕐 Timing Your Pit Cook for Optimal Results
Cooking times in pits vary based on depth, fuel quantity, food mass, and ambient conditions. Root vegetables typically require 3 to 5 hours in properly prepared pits. Smaller meat cuts need 4 to 6 hours, while large roasts demand 8 to 14 hours. These extended times allow gentle heat to work its transformative magic without rushing.
Resist the temptation to check progress frequently. Each time you open the pit, precious heat escapes, extending cooking times and potentially creating uneven results. Trust your preparation, calculations, and the process itself. Most pit cooking failures result from impatience rather than technical errors.
Weather significantly impacts cooking times. Cold, windy days accelerate heat loss through the ground surface, potentially requiring 20-30% longer cooking periods. Humid conditions actually benefit pit cooking by reducing moisture loss from foods. Rain poses challenges by potentially flooding pits, so plan cooking sessions during stable weather or create drainage systems for your pit.
🌡️ Advanced Techniques: Layering and Combination Cooking
Experienced pit cooks layer multiple food types for complex, complete meals cooked simultaneously. Start with meats at the bottom closest to heat, layer root vegetables in the middle, and place delicate items like wrapped fish or bread dough near the top. This arrangement respects each ingredient’s heat requirements while allowing flavors to mingle subtly.
Create separation layers using clean canvas, large leaves, or wire racks to prevent direct food contact while maintaining heat circulation. These barriers also make retrieval easier, allowing you to remove upper layers without disturbing items still cooking below.
Some advanced practitioners create dual-chamber pits with removable dividers, allowing different sections to maintain distinct temperatures. This technique requires precise engineering but enables cooking diverse items requiring vastly different heat levels in a single pit session.
Moisture Management for Superior Texture
Controlling moisture separates good pit cooking from exceptional results. Too much moisture steams food, preventing the slight dehydration that concentrates flavors and creates appealing textures. Too little dries ingredients unpleasantly. Balance comes through careful wrapping, strategic placement of water sources, and proper pit sealing.
Place a shallow pan of water or damp burlap above your food if additional moisture seems necessary. This technique works particularly well for leaner meats prone to drying. Conversely, elevate fatty meats on racks so rendered fat drains away rather than pooling, which can make vegetables greasy and meats soggy.
🛡️ Safety Protocols and Environmental Considerations
Pit cooking involves fire, confined spaces, and buried heat sources—a combination requiring serious safety attention. Always inform someone of your cooking plans and location. Keep fire extinguishers or abundant water nearby. Mark your pit clearly if leaving it unattended to prevent tripping hazards.
Carbon monoxide poses minimal risk in properly ventilated outdoor pits, but avoid covering pits with solid materials that completely seal them during the early burning phase. Once coals develop and food goes in, sealing becomes appropriate, but maintain awareness of any unusual smells or symptoms if working nearby.
After cooking concludes and food is removed, allow coals to burn out completely before filling the pit. Hot coals buried under dirt can smolder for days, creating underground hazards. Alternatively, carefully drown coals with water, though this produces significant steam requiring caution.
🍽️ Finishing and Presentation: Honoring the Process
Retrieving food from your pit represents the culmination of hours of patient cooking. Work carefully but efficiently to minimize heat loss if cooking multiple layers. Have clean surfaces prepared for food placement, and tools ready for unwrapping hot packages.
Pit-cooked foods often benefit from brief resting periods after removal, allowing juices to redistribute through meats and temperatures to equalize in vegetables. This resting period also makes handling safer and carving easier. Tent loosely with foil during resting to maintain warmth without trapping excessive steam that might soften crispy surfaces.
Presentation of pit-cooked foods should reflect the rustic, primal nature of the technique. Serve directly from cooking vessels when appropriate, allowing aromatic steam to escape dramatically as packages open. Garnish minimally—the food itself is the star, with its deep colors, caramelized surfaces, and incredible aromas telling the story of hours spent transforming beneath the earth.
🌍 Cultural Variations and Global Pit Cooking Traditions
Virtually every culture developed pit cooking traditions adapted to local ingredients and conditions. Hawaiian kalua pork uses volcanic rock-lined imu pits several feet deep, cooking whole pigs wrapped in banana leaves for up to 12 hours. New England clambakes feature shallower pits lined with seaweed, creating briny steam that cooks shellfish, corn, and potatoes together.
South American pachamanca employs hot stones in Andean pits, cooking potatoes, corn, and meats wrapped in aromatic leaves. Mexican barbacoa traditionally cooks lamb or goat in maguey-leaf-lined pits, producing incredibly tender meat with subtle smoky sweetness. Each tradition offers insights into optimizing pit depth and technique for specific ingredients and desired outcomes.
Learning from these diverse traditions expands your pit cooking repertoire significantly. The principles remain consistent—controlled heat, proper depth, adequate time—but the variations demonstrate countless ways to apply those principles creatively.
✨ Elevating Your Culinary Journey Through Earth and Fire
Mastering pit depth represents far more than technical proficiency with an ancient cooking method. It connects us to fundamental human experiences of gathering, preparing, and sharing food using elemental forces. The patience required teaches valuable lessons about anticipation, trust in process, and appreciation for transformations that cannot be rushed.
Each pit cooking experience builds knowledge that cannot be fully captured in written instructions. You’ll develop intuition about soil conditions, weather impacts, and ingredient behaviors that comes only through practice. Start with simple preparations—a few root vegetables, perhaps a small pork shoulder—and gradually attempt more ambitious projects as confidence grows.
The flavors achieved through proper pit cooking remain unmatched by any other method. That combination of gentle heat, trapped moisture, mineral-rich earth contact, and smoke creates taste experiences that linger in memory long after the meal concludes. Whether cooking for family gatherings, special celebrations, or personal exploration, pit cooking offers rewards far exceeding the effort invested.
Your journey toward pit cooking mastery begins with a single hole in the ground, glowing coals, and willingness to trust ancient wisdom refined over millennia. The depth you choose, the care you invest, and the patience you exercise will all reflect in the extraordinary foods you unearth hours later—transformed, enriched, and deeply satisfying in ways that honor both tradition and your growing skill.